How to Zero the Pressure Sensor
Many oceanographic instruments including those designed by Rockland Scientific, contain pressure sensors. Within Rockland instruments, changes in pressure are sensed as changes in voltage which is converted to units of decibars (dBar) in post processing. The dBar unit is extremely convenient because it is nearly synonymous with water depth in meters (m). At sea level, the Earth’s atmosphere exerts approximately 1 atm (10.1325 dBar) of pressure on the pressure sensor. However, the Earth’s atmosphere is never at exactly 1 atm because weather systems induce changes in pressure. Low pressure in the atmosphere brings warmth and rain while high pressure brings cool temperatures and clear skies. The range of measured atmospheric pressure at sea level is 10.84 dBar to 8.70 dBar. The pressure sensors in Rockland instrumentation will record these changes in atmospheric pressure and can be used as a barometer!
Due to constant changes in atmospheric pressure the pressure sensors must be zeroed to sea level to accurately measure the water pressure (i. e. depth). When your instrument is first tested at the Rockland production facility the pressure sensor is zeroed to local conditions. However those local conditions may not be consistent with the pressure at the time and location of your measurements. The “zero-ing” of a pressure sensor can be achieved by adjusting one coefficient in your setup.cfg file. This can be accomplished either in post processing or immediately before a deployment (see below). note: The pressure sensor is sensitive to large changes in altitude of the order of 100-1000m , but small changes are insignificant. Thus, you can zero the pressure on the deck of the ship at your deployment site.
Example:
The pressure sensor at the time of manufacture is calibrated at near sea level in Victoria, Canada on a rainy day when the atmospheric pressure is 998 mBar; a coef0 value of -3.03 produces a pressure value of zero in these local conditions. The instrument is shipped to Medellin, Colombia (1495 m above sea level). A deployment in an alpine lake is scheduled for a sunny day when the atmospheric pressure is 1018 mBar. The pressure sensor will need to be zeroed to local conditions by adjusting the coef0 value by 0.2 (dBar). The coef0 is changed to -3.23. The instrument is tested and the pressure now reads zero at the surface.
A few days later a low pressure system moves in but the researchers decide to brave the rain and go out to collect data. A team member notices that the atmospheric pressure has dropped to 1006 mBar. Now the coef0 must be changed to -3.11 for the pressure value to read zero on the surface of the water.
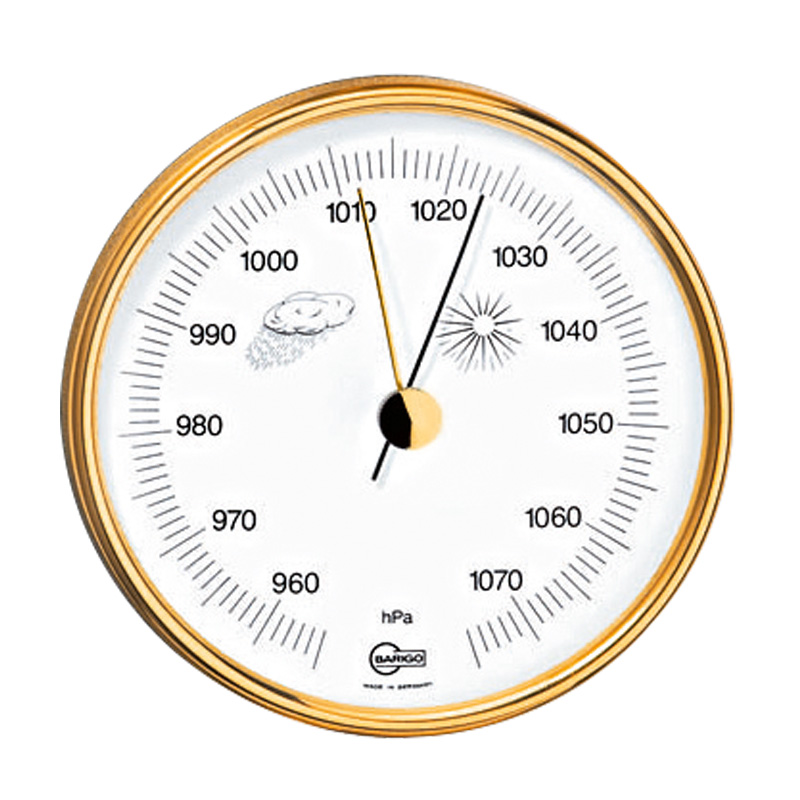
Barometer
Before Deployment
Step 1. Determine the pressure difference from zero: Connect to the instrument via Motocross and start Data Acquisition. The output on the screen will be The Last Record, Next Record and Pressure. Note this pressure value. For real time instruments note the pressure displayed in ODAS4-RT software.
Step 2. Download the Setup.cfg file from the instrument.
Step 3. Add or subtract the pressure difference from Coef0 in the pressure channel 10 in your setup.cfg file. Below is an excerpt from a setup.cfg file. Note that you do not need to change anything in Channel 11.
; —————–
; The pressure transducer
; without pre-emphasis
[channel]
; instrument dependent parameters
id = 10
name = P
type = poly
; sensor dependent parameters
coef0 = -3.03
coef1 = 0.01688
coef2 = 3.888e-8
cal_date = 2018-12-21
units = [dBar]
Step 4. Load your new setup.cfg file onto the VMP.
Step 5. Start Data acquisition to check that you have correctly zeroed the pressured.
Post Processing
Step 1. Plot the pressure record in MatLab. We recommend using show_ch(‘filename’, {‘P’})
Step 2. On the graph, measure the difference in the pressure record from the time the VMP was on the deck (or in the air) to the 0 dBar line on the graph. If you are using a real time instrument and data acquisition was started in the water, this may not be possible.
Step 3. Use extract_setupstr(‘filename’, ‘nameofsetupfile’) to extract the setup.cfg file from the .p file.
Step 3. Add or subtract the pressure difference from Coef0 in the pressure channel 10 in your setup.cfg file. Below is an excerpt from a setup.cfg file. Note that you do not need to change anything in Channel 11.
; —————–
; The pressure transducer
; without pre-emphasis
[channel]
; instrument dependent parameters
id = 10
name = P
type = poly
; sensor dependent parameters
coef0 = -3.03
coef1 = 0.01688
coef2 = 3.888e-8
cal_date = 1986-05-27
units = [dBar]
Step 4. Use patch_setupstr(‘filename’, ‘nameofsetupfile’) to patch the new setup.cfg file back into the .p file.
Step 5. Plot pressure again to check your work.
Remember that pressure sensors are designed for various depth ranges in the ocean. Surpassing the rated depth of a pressure sensor may cause damage to the pressure sensor. For more information contact Rockland Support.
